My blog has moved!
You should be automatically redirected in 5 seconds. If not, visit redirectLink" href='http://lazyowlboutique.com/'> http://lazyowlboutique.com and update your bookmarks.

 
about shop links contact home

Tuesday, November 22, 2011

Stocking Stuffers and a Sale

Happy almost Thanksgiving yall!

In honor of Thanksgiving/Black Friday/Cyber Monday, I'm offering free shipping all this week.  Use coupon code TURKEY for FREE domestic shipping!  This is a great way to get unique, handmade gifts without having to fight the crowds at the mall, but without having to pay extra for shipping!

Sneak a peek at some of the cutie patootie stocking stuffers, all for $14 or less, that I have in stock right now.  I'm about to list TONS more over the week too!

Mint green rosette studs for just $9!

Hot pink mum earrings for $10


Cute as a button! Heart button earrings
   
Plum rose earrings


Gold wire-wrapped sea green pearl ring

Mint Dahlia adjustable ring


Friday, November 18, 2011

It's *almost* the most wonderful time of the year...

Sniff, sniff....do you smell the holidays coming?  Or maybe your nose is just running from the allergies you get during the changing of the seasons?  Or maybe that is just me.

Here in southeastern Texas, it is still rather warm (as in mid-70s) even though we are approaching Thanksgiving.  Today I think the low is actually in the 40s. Woo!  I am ready for colder weather, mostly because I'm ready to wear my many pairs of boots...

I have been really slacking on the updating front lately.  It has been a busy couple of months, first the half marathon and Disney trip, then the craft show, then the stray dog issue...Since then I have had a terrible bout of food poisoning and some really busy weeks at work.  I have almost hit the 6 month mark at my new job so I've had some new responsibilities transition to me.

In the meantime, I have focused all my Lazy Owl energy on listing new items in my shop, hoping to capitalize on that upcoming holiday shopping rush.  Take a peek at some of my new items, these beauties are the perfect accessory for upcoming holiday parties:

Emerald and gold earrings

Black and gold wire-wrapped ring


Rose old hollywood earrings

And my new personal favorite, these lovelies:

Rainbow vitrail gold earrings

I also have been working hard on a custom order for a bridal party, which I just shipped off this morning, so that was pretty exciting.  It was my first wedding order, and the bride was wonderful to work with.  Plus, the earrings she chose for her bridesmaids are one of my favorite pairs:


What have yall been doing to get ready for the holidays?  I need to shfit focus from my Etsy shop back to getting ready for my next craft fair.  I also plan to write a post featuring a few of my stocking stuffer items, along with some promotions for Black Friday/Cyber Monday.  Next week we are taking some time off for Thanksgiving, so I'm happy for the excuse to relax :)

Happy Holidays!


Monday, November 7, 2011

First craft fair experience

Sorry it has taken me so long to update about my first craft fair experience.  Last week (on Halloween), we picked up a stray dog.  We could not keep him since we already have 2, one being a newly rescued puppy, so I spent the week desperately trying to find an adoption/foster program that would take him in.  EVERY no-kill rescue program in the city of Houston was at max capacity.  Just when I thought we were going to have to send him to animal control (and basically sign his death warrant, as he was a big black pit mix), I found a friend in Baton Rouge who would give him a loving home.  AMEN!

Moving on to a totally unrelated note, here are pics and a review of my booth from my first craft show on October 29. 


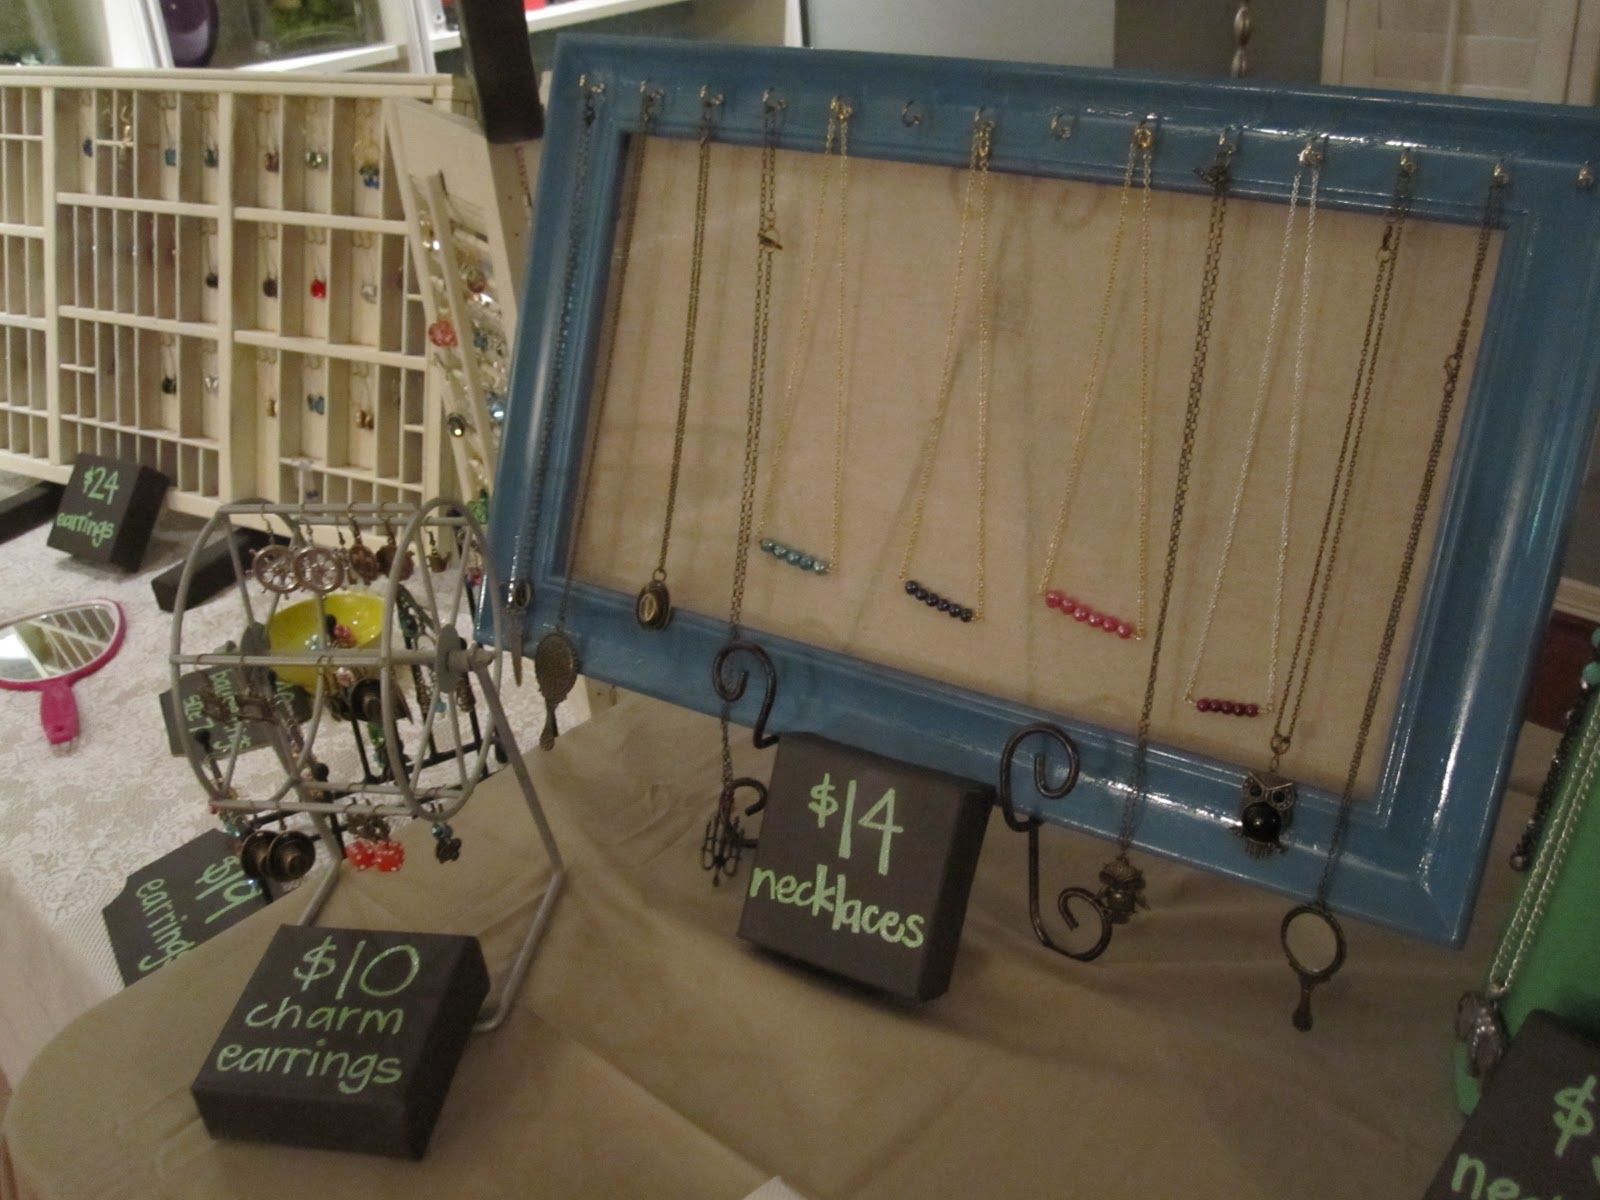
I had paid for an outside booth, and luckily the weather was nice, although a bit chilly.  It was the first weekend of colder temps in Houston this fall.  As you can see, thanks to the suggestions from yall, I did cave in and make a small sign.  Obviously it's nothing special, just paint on a piece of blue poster board, but I figured this sign was better than no sign.  I've already devised a better banner for my next show, so have no fear.

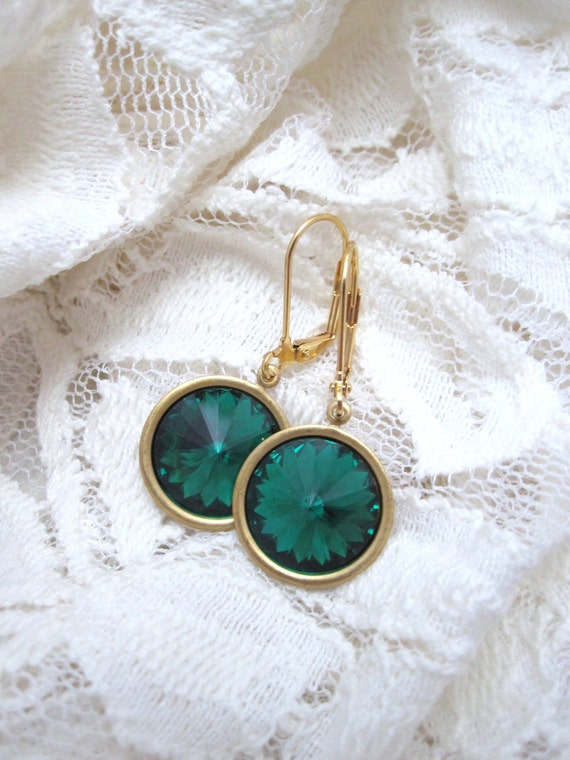
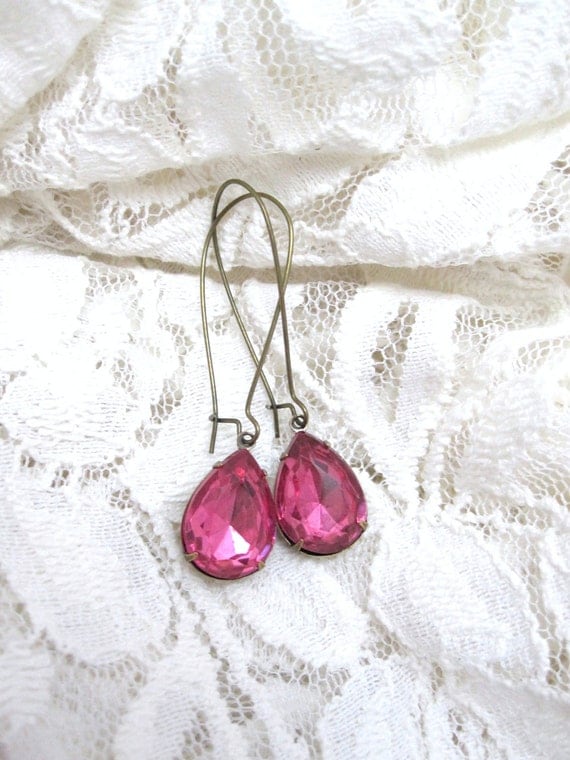
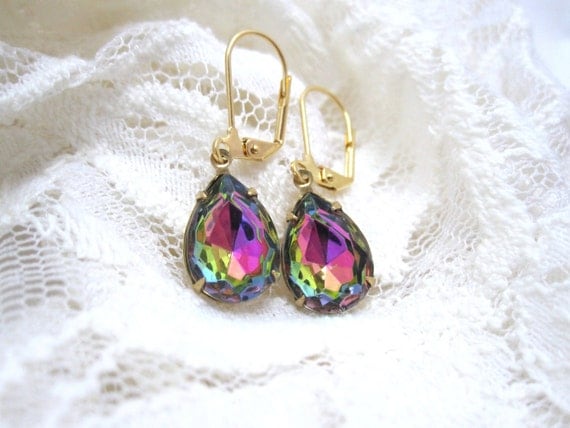
I made a few last minute changes to my set up, and put my printer's tray of crystal earrings on the taller table rather than the small card table as planned.  The sun was shining into one corner of my area, and I wanted to try to put the crystal earrings in the sun where they could really sparkle!


Necklaces and stud earrings were displayed on my card table...That's a mannequin from Pottery Barn, a Goodwill frame with hooks and fabric, and another Goodwill frame with twine strung across the back and mini clothes pins to hold up my earring cards.


Here's my booth as a whole.  As far as my experience went, my day was SLOW.  I was really excited to be there and excited about my booth display, since I worked so hard on it...but I quickly realized that this show did NOT have the right audience for me.  It was the 40th year of this show at an established Episcopal church in a suburb of Houston.  The crowd was about 80% 60+ ladies.  Nothing against the older crowd, they just weren't into my stuff.  The tupperware ladies were the booth next to me and they were selling like hotcakes (however I did overhear their total revenue at the end of the show, and they didn't make much more than me, mostly because everything they sold was from their $1-$3 bins). 

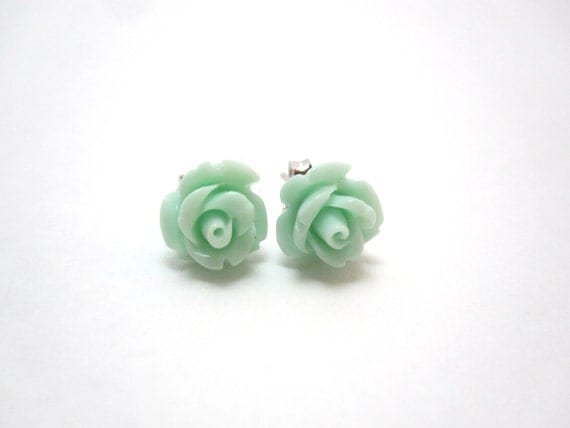
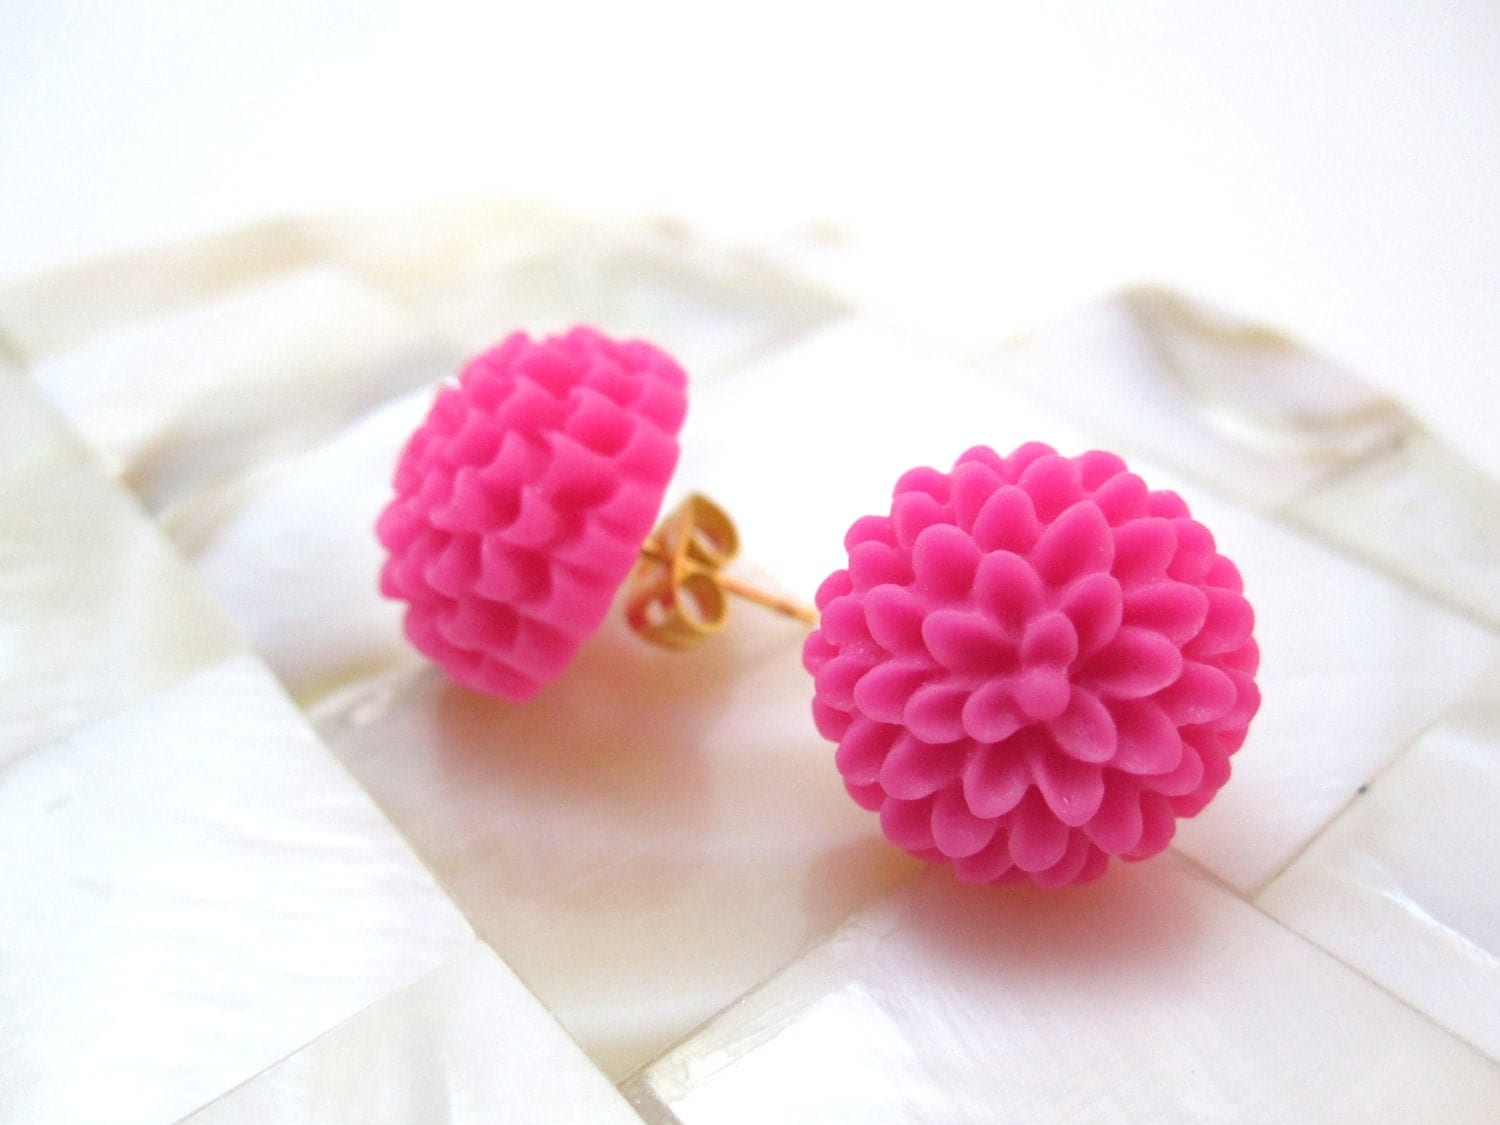
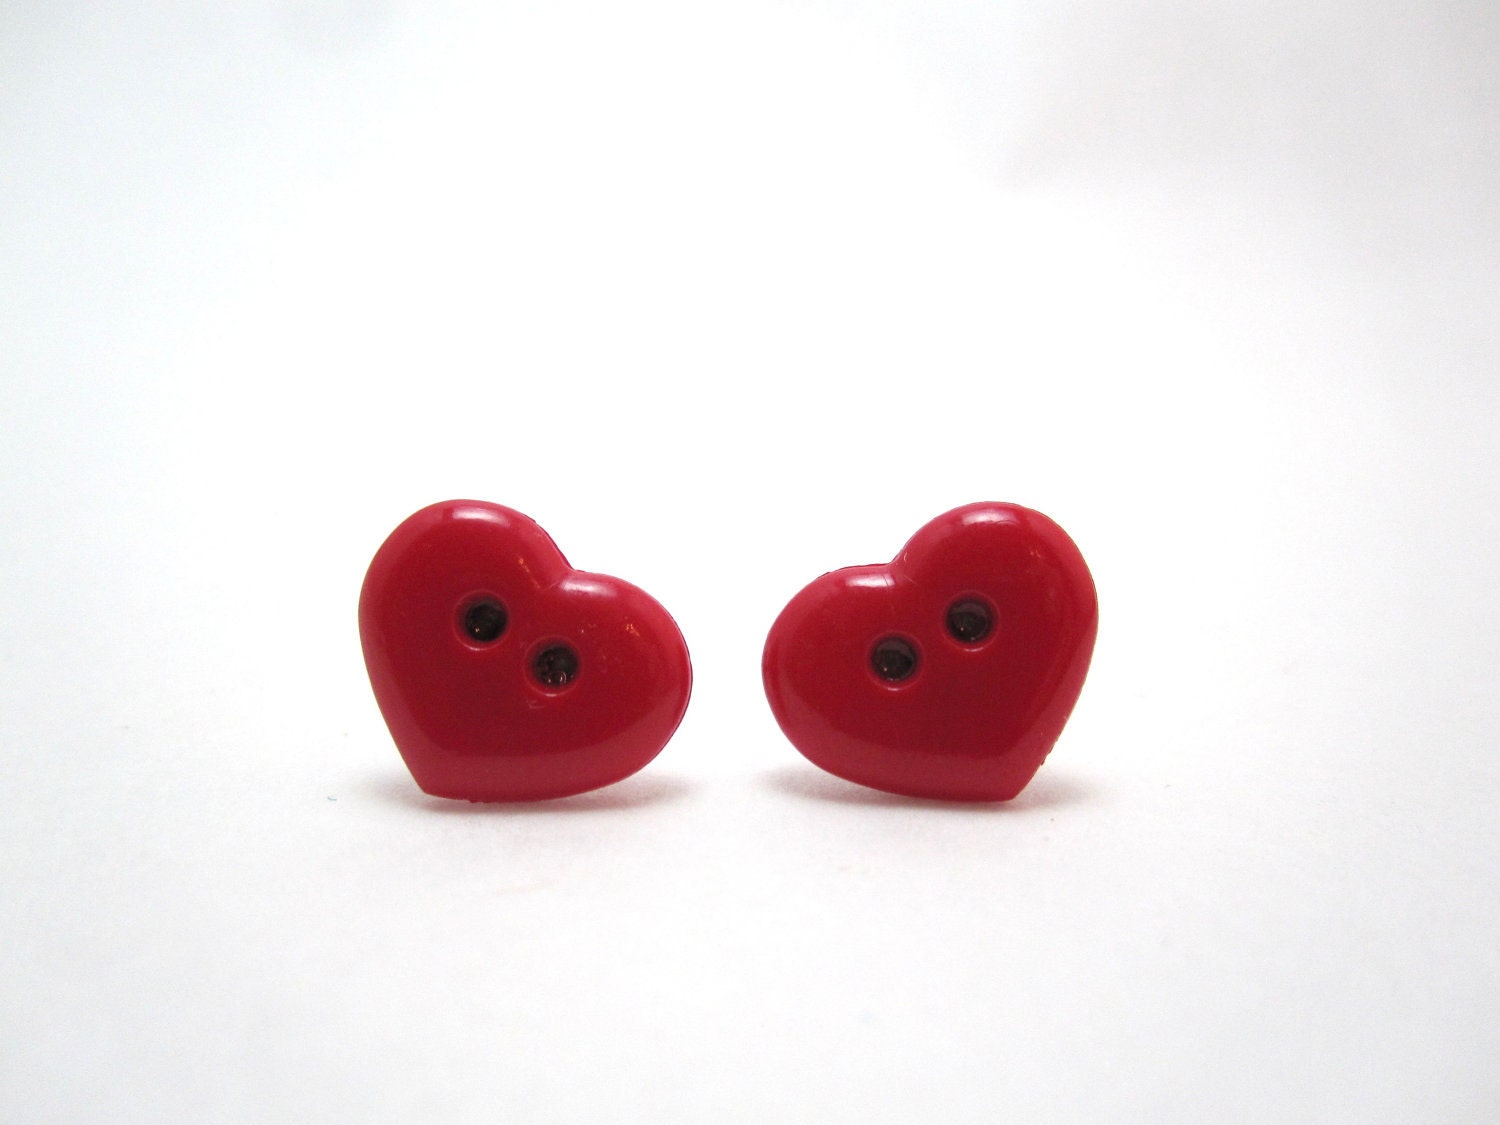
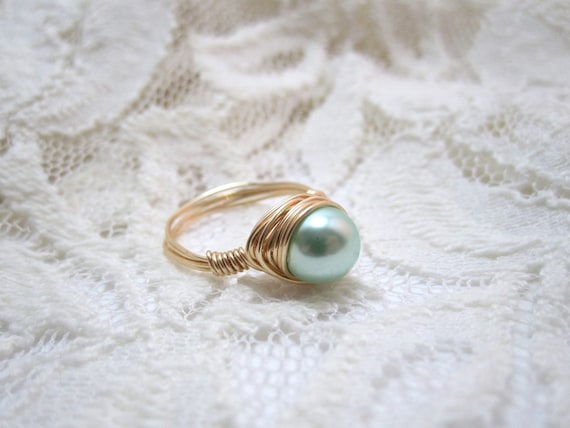
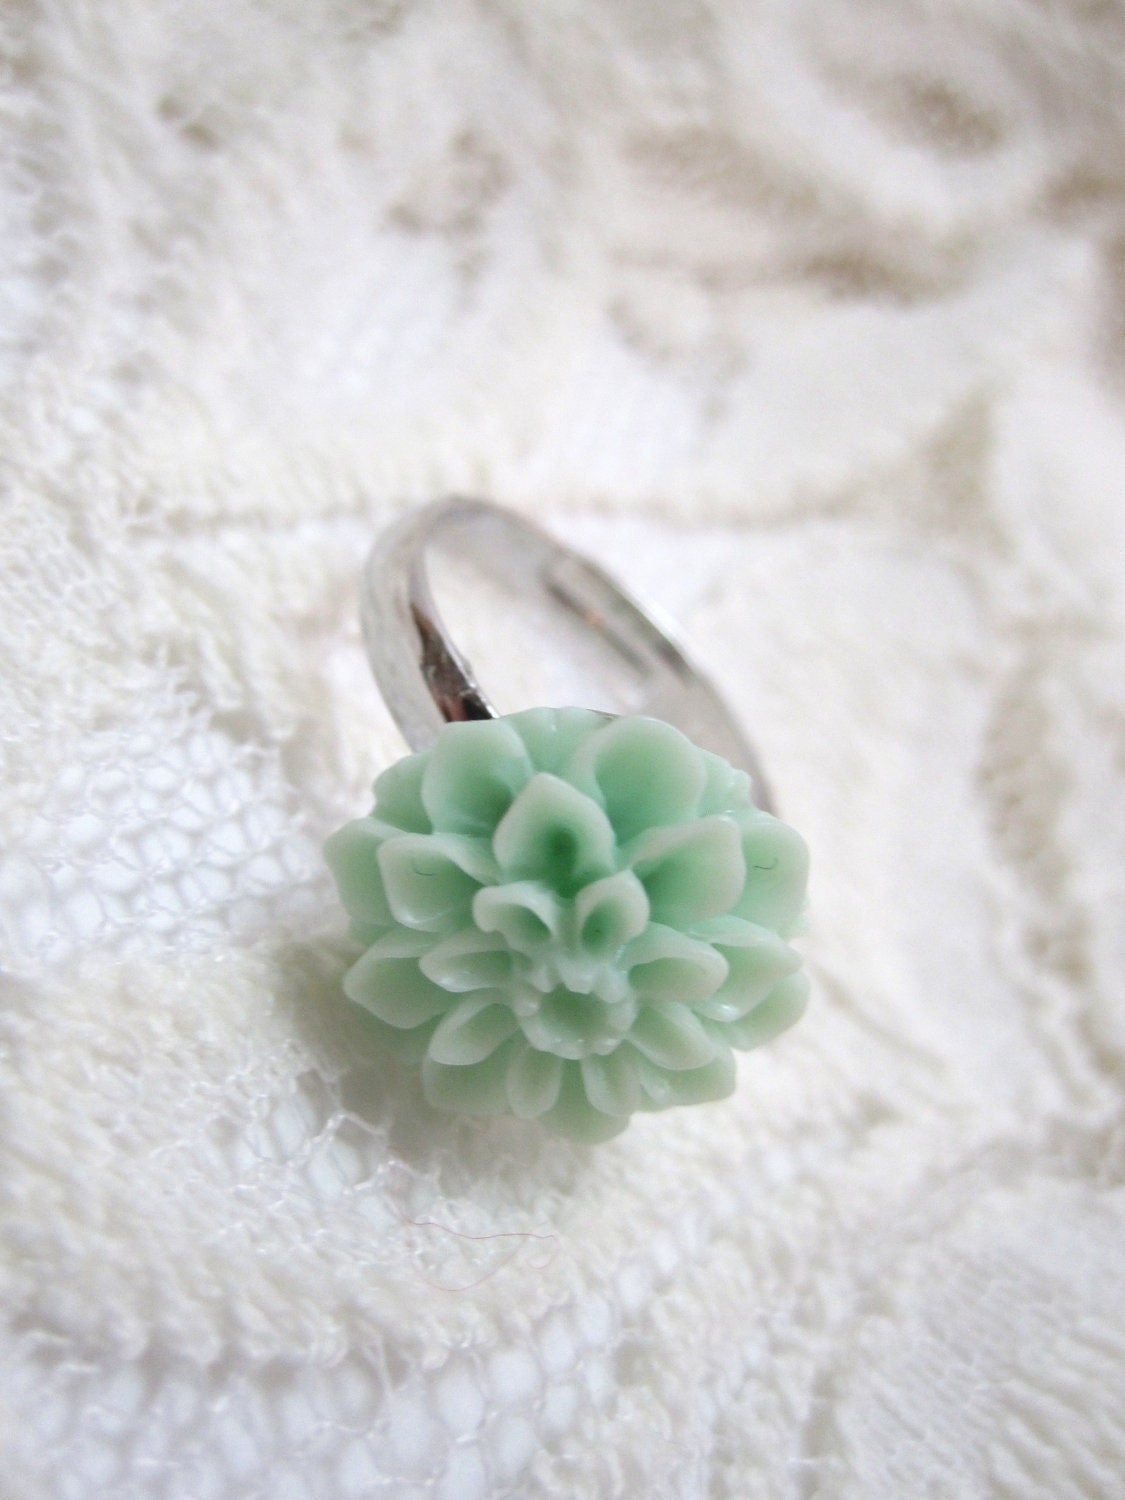
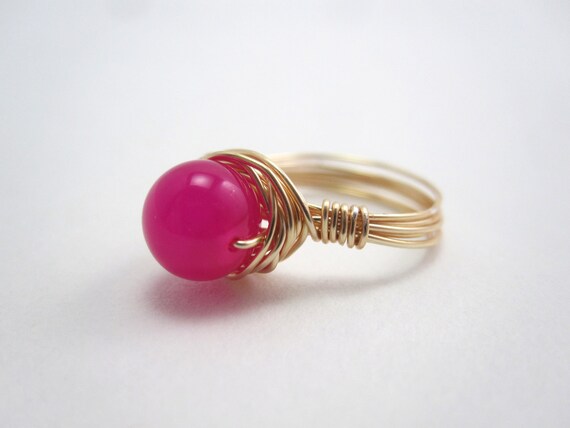
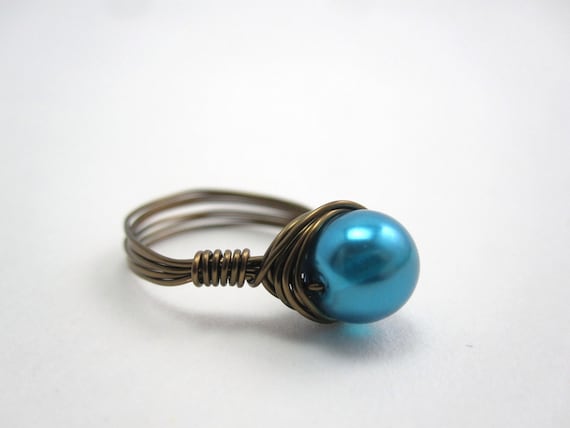
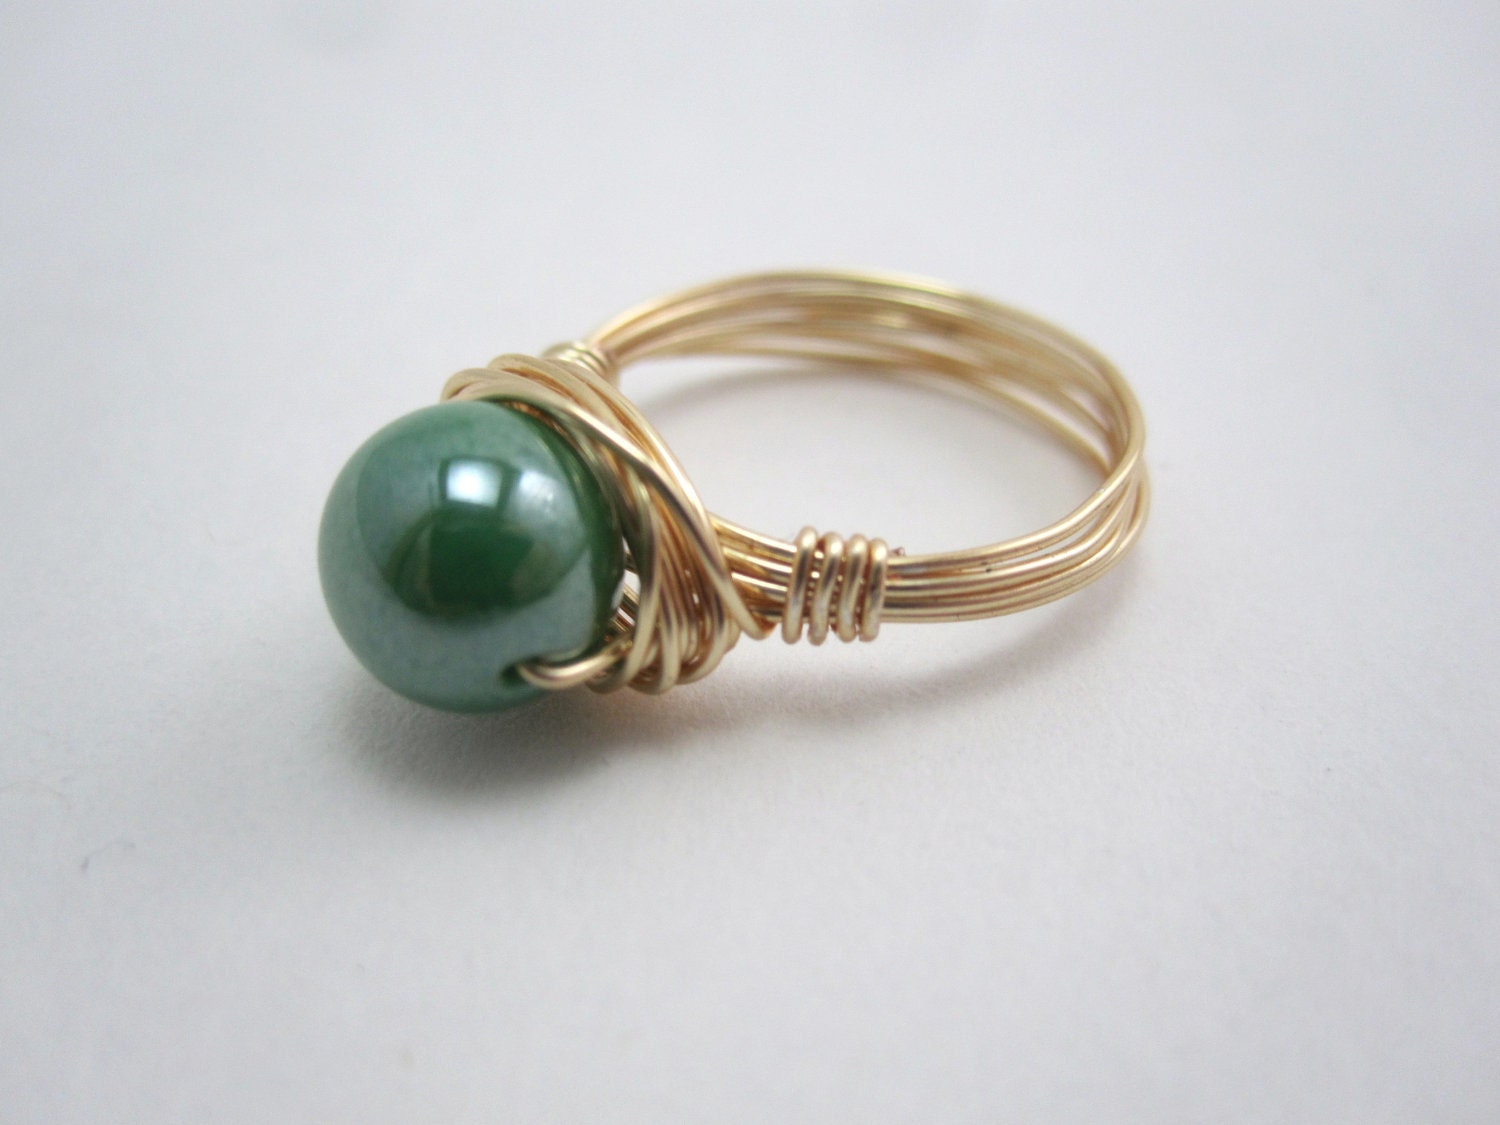
It was at least a learning experience.  I made back about three times the booth fee, but that still wasn't much.  Most everyone that bought something from me was one of the few young moms there, buying something for themselves or for their daughters.  My rosette stud earrings were popular for the daughters and I sold mostly those.  Much to my surprise, people were most interested in the rosette studs and my button rings.  People just loved buttons.  Unfortunately I didn't make many of my button wire rings large enough to fit the fingers of the older ladies (I generally make them sizes 5-7 to aim for the more youthful Etsy crowd who for some reason seem to have smaller fingers haha).  I didn't even list any of the stud earrings in my Etsy shop until after the show, so I was surprised at that.  I had assumed that my old hollywood crystal jeweled earrings would be the biggest crowd pleaser, particularly in my white printer's tray display, but not very many people looked at them.  I am thinking it's a little early to build a hypothesis though based on this one show.

I also got some experience using Square, which went very smoothly.  About half my transactions were via credit card, and Square deposited the money in my account within a couple days.  No problems there!

Finally, I got an opportunity to just step out of my shell for a day, which I'm sure I really needed.


Stud display above. Pictured below are my old hollywood style earrings displayed on an antique printer's tray, a shutter from re-Habitat, and a wire file folder holder from Hobby Lobby.

I'm really looking forward to my next show.  Since I created SO much inventory for this past one, I won't have to bust my butt over the next few weeks making things.  This one will be December 3 & 4, two whole days, and I'm thinking the demographic will be more my speed, at least I'm hoping!

Please let me know what you think of my booth display and if you have any suggestions for me!

Thursday, October 27, 2011

Preparing for my very first craft show

Ahhhhhhhhhh.  Saturday I'm vending in my very first craft show/fair/festival/whatevs.  I'm pretty scared.  I'm a pretty socially awkward/shy person, so I'm also pretty anxious about just putting myself out there and interacting with *strangers*! Haha.

As you may know, I'm an avid researcher and reader for any topic I'm unfamiliar with.  Thus, I've been scouring the blogosphere and Etsy forums and reading all about how to prepare for a craft show.  Other than just general nerves, I feel like I'm as prepared as I can be.  I've had the tables set up in my living room for about 2 weeks now.  I've set up my Square account and practiced swiping credit cards.  I've got $100 in cash change.  I've got receipt books, an inventory spreadsheet and a clip board, handheld mirrors, a vending apron, table risers....

The past month I've taken my inventory from about 45 items to 240 items (wowzers!).  I've also been diligently working on creating displays and a table setup as cheaply as possible.

Here's my practice setup thus far (I haven't ironed the table cloth yet so please ignore the wrinkles!)


Here's a summary: I've got a 4 foot table on the left with a printer's tray that my helpful husband spray painted white and screwed in tons of little half inch brass hooks.  I hung crystal earrings of various sizes on the hooks.  On that table, I also have a cheap wrought iron file folder holder and an old little shutter as earrings displays.

The table cloths are just cheap full size bed sheets I found in a neutral tone.  I bought a little cheap lace tablecloth to spice up the crystal earrings table.


My main 6 foot table has all my stud earrings on the right (hopefully I'll be listing some of these in my Etsy shop soon).  I bought the main three frames on this table from Goodwill for cheap and spraypainted them.  The one in the center is actually a memo board I covered with new beige fabric.

You can see the ring box I discussed making in this post in the center of my table.

The memo board dispays all my bunting necklaces, and the blue frame on the left has hooks on the top to hold my other necklaces.

I hope the printer's tray will grab some peoples' attention...


Bunting necklaces!

For the stud earring display, I strung twine along the back of the open frame and used tiny sized clothing pins to hang up my earrings cards.


I found the little wire ferris wheel at Goodwill and used it to hang my charm earrings.  I also got little tiny canvases, spray painted them brown, and used them as my pricing signs.  It was quite difficult grouping over 200 items into just a few price ranges, but I really did not want to price each item individually as I thought it'd just be too time consuming.

What do you think?  Give me your feedback!  My biggest worry is that I do not have a SHOP NAME anywhere on my table! I mean, I have my business cards out, and I had bought a large canvas to paint Lazy Owl Boutique on, but there's just no room to put it out on the table so I gave up....hopefully it's not too big of a deal.  I'm thinking if this whole craft fair venture is successful, I'll order some sort of professional banner with my name and logo and everything.

Wish me luck yall!


Tuesday, October 18, 2011

I survived!

Sigh of relief!  Sorry I have been MIA for the entire month of October.  Things have been busy, busy, busy since I returned from my Disney trip.  One thing at a time!


I survived my very first half marathon!  It feels like it happened so long ago, it feels like it maybe didn't even happen.  That boost of adrenaline I was expecting to get whilst running through the Disney parks definitely did NOT happen.  And I really could've used it haha. 

It was a long, tiresome journey.  We tried to take a nap that day since the race started at 10pm, but I was too anxious to fall asleep.  When the race finally started, I was just amazed at how many PEOPLE there were everywhere.  I've never run around that many people before, and it was tough navigating and winding and dodging everyone, especially since I was run-walking.  I don't think things cleared up for me until mile 5 or so.  I plodded along at my slow and steady pace til about mile 11...at this point I felt like I wanted to die.  Miles 11 to 13 seemed to take a lifetime and a half.  By the time I reached the finish line (at exactly 3 hours flat) I had tears in my eyes!  They weren't really happy tears haha, I just seemed to be overwhelmed with emotion at finally finishing.  And being slightly annoyed that I had made myself do something so painful.

As soon as I finished and stopped moving I suddenly could no longer move.  I was meeting the rest of my party in Canada (the race finished outside Epcot), and I think it took me 45 minutes to hobble over there!  Needless to say, we all passed out after that!

Since returning to Houston, I've been consumed by getting my shop ready for my very first craft fair.  I feel like a little Christmas elf.  I think I have just about TRIPLED my inventory in the past 2 weeks...not to mention creating all sorts of various displays and jewelry holders for all my items (with the help of my gracious husband of course). 

I hope to have a full post about my preparation for the craft show soon, that should be exciting to share. 

Just inputing all the new items in my inventory spreadsheet system has been overwhelming, so I am way behind on taking photos and listing new items...but I will show you a few new necklaces I've been able to add to my bunting necklaces line recently:


Cool tones bunting necklace
  
Maroon bunting necklace
 
Orange bunting necklace


Thursday, September 29, 2011

Ahhhhhhhhhhhh!

Ahhhhhhhhhhhhhhhhhhhh!! In 9 hours I'm catching a flight to Orlando.  Saturday night at 10pm I will be attempting to run/walk my very first HALF MARATHON!  Wish me luck!

I also look forward to just having some vacation!  Spending time catching up with old friends and meandering around the Disney parks, which seem like a second home to me.  I also will get to do some snacking and sipping for the Food & Wine Festival (Canadian beer cheese soup, here I come!), and finally visiting the Wizarding World of Harry Potter!

Thus, I will officially be away from my shop and blog until I return on 10/5.  Wish me luck and I hope you all have a wonderful week!

Pinterest Thursday: Ring Display Box

I'm so excited to share my Pinterest Thursday: I Tried It! Project with you all today.

In preparation for my upcoming craft shows, I've given a lot of thought to how I can display my jewelry at my booth.  Since I'm sort of just testing the waters here, I don't want to spend too much money on jewelry display items and pieces.  So, I've been trying to figure out inexpensive ways to set up my booth and show off my inventory while still having a cute, unique, attention-grapping display.  I've been gathering ideas at my Craft Show Display Ideas board on Pinterest.

I've thought of all sorts of frames and boards and foamy things to hang my necklaces and earrings from, but rings are a different story.  Bring in this wonderful little pin I found:


Ring display pin, click through to get to tutorial

The pin is for a tutorial on how to make your very own ring display box/tray/thing from a cutlery tray.  Now rewinding, when we first moved into our house, I bought a new cutlery tray for the kitchen, only to find it was slightly too big to fit in our drawer.  I threw it in the back of my car to eventually return to Bed, Bath, and Beyond, but let's face it, that place can sometimes seem like the 6th circle of hell, and I don't like going in unless I have $250 lying around that I want to throw away.

Thus, much to the annoyance of my husband, I never made it around to returning the cutlery tray.  Fastfowarding, when I saw this tutorial, I was like, AHA!  Finally something I can do with that tray!  Now I can make a super cheap ring display box AND avoid ever stepping into Bed, Bath, and Beyond.

The main two items you need are any sort of cutlery tray type thing and some upholstery foam, which I found at Joann.


Some scissors and a box cutter or a knife are also helpful, along with some relatively thick fabric.  If your fabric is too thin, you'll be able to see the green foam through it.

Use your scissors or a knife to cut out foam pieces to fit in the cutlery tray divisions.  In the pinned tutorial, she uses just one big tray, so it's a lot easier.  Sadly I was working with a tray with lots of divisions, so I had a lot of cutting to do.  I was sort of worried my final result might look odd with all the divisions, but I think it turned out just fine (you'll see soon).


Here's my box with the foam pieces fitted in.  I then took my knife and started slitting lines through the foam where I wanted to be able to sit the rings.  I sliced the lines about half-way into the depth of the foam, and I tried to keep my lines straight (but didn't really succeed) and evenly spaced.

After I was done cutting lines, I took my fabric and cut it into pieces, and basically stuffed in into the sliced lines, folded it under the pieces of foam, and stuffed it all into the box.  I used the point of my scissors to really stuff the fabric in there and make it as taut as I could get it.  I chose a basic neutral colored muslin fabric.  I planned to paint my tray a bright green and I really wanted my rings to be able to pop against a non-distracting background.

After spraypainting the tray green (and thus restuffing all the foam pieces), this was my final result:


Yeah, some of my lines aren't straight, and my fabric is a little wrinkly in places, but once this baby is full of rings I think it's going to look great!  I also love the green color.  I can't wait to see it on my craft show table full of shiny things!  The only bad thing is that when I made it, I realized how many rings I need to make to fill it up!  I put EVERY ring I currently have for sale on it in this picture, and you can see it's like....1/5th full!  I have a LOT of work to do!

I think this is a great project even for non-craft show vendors.  You could make one of whatever size you want for your own personal ring collection and show it off on your dresser or vanity.  It'd also make a cute handmade gift for a friend!  I'd also like to think you can't really notice that it started out as a cutlery tray...


life by the book


Friday, September 23, 2011

Holiday Bootcamp Kick Off

Waaaaaahhhhhhh!  I'm sort of trying to swallow down a nervous breakdown right now.  A week from yesterday, I leave for my happy place, Walt Disney World resort in Florida.  A week from tomorrow, I am going to attempt the impossible -- running (jogging? walking? limping? crawling?) 13.1 miles as part of Disney's Food & Wine Half-Marathon.

I know I had made some promises a while back to keep you all posted on my training progress, and maybe you are wondering where all those promised updates are...well, I have barely been training! Ahhhhhhhh.  The longest I've gone in preparation for this is 9 miles.  And I've done that twice.  And the last time was like 3 weeks ago.  I have only run once this week (4 measly miles).  I'm promising myself that I will do 9 miles again this weekend since it's my last chance to squeeze in another long run...but....we'll see.

Anyway, running-related freakage aside, I've been slowly building up some anxiety related to my Etsy shop and this holiday season.  Two issues -- I want my shop to be in tip-top shape for the upcoming holiday rush (assuming there is a rush for me), and I've signed up for two craft shows in Houston where I will attempt to sell my wares in person for the first time EVAR.

There are many, MANY things I need to do to prep for a for-reals craft fair.  Hopefully preparing for the craft shows will help get my Etsy shop into gear as well.  Yesterday, I received week 1's issue of Etsy Success' Holiday Bootcamp, and I really need to follow some of the advice the blog article suggests.  So, in an attempt to get my butt in gear, I'm going to start listing some goals for myself.  Maybe you can follow along too!

Etsy's Holiday Bootcamp


Lazy Owl Boutique Holiday Goal Outline (very official name)
  • Increase inventory, with a goal to at least double inventory by October 29 (date of first craft show)
    • Begin by focusing on inventory that will sell well at craft shows:
      • Make more wire-wrapped rings in variety of sizes
      • Make more bunting necklaces, particularly ones with school colors (focus on Texas schools and SEC schools for now)
      • Make more vintage glass jewel earrings
  • Order supplies as needed
    • Inventory supplies -- earwires, craft wire, crystals
    • Craft show supplies? -- another table, table coverings, risers, receipts, vendor apron, earring cards, merchandise bags, stickers, etc. etc..
  • Prepare/create displays for craft shows-- ring boxes, earring frames, doorknob necklace holders, earring/necklace trees, price signs, shop name banner, etc. etc.
    • Update inventory catalog and pricing -- I've gotten really lazy about entering my supplies and costs into my inventory spreadsheet, how will I know where to price my items if my supply costs are not accurate?
    • Photograph and list, list, list on Etsy all these new items I'm making!!
    *Sigh*...I basically just need to set aside more time...more time to create items, but also to update my inventory/pricing spreadsheets, take photos, and list items.  I feel like all that admin stuff takes more time than actually creating, but I guess that's the way it is!

    Do you have a plan to get ready for the upcoming holiday season?  Feel free to share!  Or give me advice, I love advice...


      Thursday, September 22, 2011

      Pinterest Thursday: Oreo Chocolate Cupcakes

      Maybe you have noticed I don't talk too much about *cooking* or *baking* or *recipes* like lots of other lady blogs out there.  Unfortunately, I was never blessed with the strong desire to cook.  I love, love to eat.  In fact, eating is one of my all-time favorite things...but I just don't really enjoy cooking.  Probably because I'm so lazy (hence, lazy owl).

      But, I do love cupcakes, and I'd been eyeing this pin for sometime:


      Click on over to Baked Perfection for the full tutorial with ingredients.  It was easy enough for an inexperienced baker like me to handle...basically a doctored chocolate cake mix (add sour cream and instant pudding mix), plus some real simple cream cheese frosting.  I adore cream cheese frosting.  I've never been a fan of buttercream because it's just so sugary and sweet, so cream cheese frosting has always been my fave.


      My result, ooey gooey oreo deliciousness
      The additions to the cake mix made the chocolate cake super moist, and I added bits of oreos to both the cake and the frosting.  My only hiccup was during baking, I was not quite sure if I baked them long enough.  The cake was so moist it was hard to tell, but regardless, they turned out delicious!


      All for me?
      It's difficult to bake for a family of 2...24 cupcakes without any kids to feed or a party to host was a bit overwhelming (and way too tempting).  I think I've eaten about 10 of them myself, because (not to toot my own horn) they are pretty darn good.  I caved and brought 8 to work and they quickly disappeared.

      I highly recommend this recipe, and I'm happy I took a step out of my comfort zone and tried some baking for once!

      This concludes this week's Pinterest Thursday: I tried it!

       As per usual, I've linked up to the Pinterest party at bythebookpaper, check it out!

      life by the book


      Tuesday, September 20, 2011

      Me, A to Z

      Alphabet print by EeeBee

      I stole this from Two Four Five, but I believe it's going around the interblogs right now...just thought it'd be a fun change of pace! 

      A. Age: 26
      B. Bed Size: King, I absolutely love our huge bed.
      C. Chore that you hate: Do I have to just pick one? It's a toss up between cleaning the toilets and ironing, I hate both...
      D. Dogs: Leo (two to three year old 15lb rescue mutt) and Penny (2 to 3 month old 18lb rescue puppy mutt!)
      E. Essential start to your day: CAFFEINE
      F. Favorite Color: turquoise blue
      G. Gold or Silver: I like both, but I'm going through a gold phase right now.
      H. Height: 5'6.5''
      I. Instruments you play: I used to play the flute in marching band, but I can barely get a sound out of it now
      J. Job Title: Accountant II.  Fancy, I know.
      K. Kids: Not yet...
      L. Live: Texas
      M. Mother’s Name: Diane
      N. Nicknames: JDip, Dippy, some people call me Eeyore, haha
      O. Overnight hospital stays: Never thankfully 
      P. Pet peeve: Open-mouthed gum smacking, people who stop in doorways or the middle of a walkway to have a conversation with someone and disrupt all flow of traffic... 
      Q. Quote from a movie: "But why is the rum gone?" - Jack Sparrow
      R. Right or left handed: Right
      S. Siblings: One little sis
      T. Time you wake up: 7am on a work morning, 9ish on a non-work morning
      U. Underwear: ??? yes.
      V. Vegetable you hate: Hmmm...I don't mind most veggies, I guess I'd have to say baby corn cobs, those things are weird.
      W. What makes you run late: Traffic, and dealing with my silly dogs
      X. X-Rays you’ve had: Sinuses, hand
      Y. Yummy food that you make: Haha, I don't "make" much of any food, but I did just make some delicious cupcakes
      Z. Zoo Animal: Giraffes


      Wire-wrapped ring bonanza

      So, I decided a few weeks ago to sign up for some local craft fairs (more on that later...) and have been gearing up for increasing my inventory (which is basically something I need to do regardless to get more traffic to my shop and gear up for the *hopeful* holiday rush).

      The line I really wanted to focus on first were my wire-wrapped rings.  Wire-wrapped rings are delicate and appropriate for everyday wear, but they bring something elegant to your outfit.  I have made myself several in all different colors and pretty much wear one everyday since they go with anything.  Also, I seem to get a lot of key word searches for wire-wrapped rings, and I think they'll be fun and easy to sell at craft shows in person.  Plus, they are just plain fun and simple to make :) 

      My husband was out of town on business for a week, so I spent a lot of time staring at the new puppy (trying to make sure she didn't have any accidents, haha), and making wire-wrapped rings while catching up on last season of Boardwalk Empire.

      Here are some of my new rings that I've posted at the shop, feel free to browse.  This time around I focused on making smaller sizes, but I've got to make sure everyone is fairly represented, so I'll be posting some size 7s and 8s soon!

      
      Gold wire-wrapped hot pink druk bead ring


      Gold wire-wrapped ring with green luster druk bead
      
      As you can tell, I'm also having a love affair with druk beads.  Czech glass druks are round pressed-glass beads made in the Czech Republic.  They have a shine and brilliance that is hard to capture with a camera.  They can be opaque and extra shiny, like my olive green druk bead above, or slightly transparent with a subtle inner-glow, like the turquoise druk bead I used.  I just love their uniqueness!

      Please tell me what you think! Do you have a favorite color combo or a suggestion for a new color combo?  I've got so many different beads and pearls that the possibilities are endless!

      Related Posts Plugin for WordPress, Blogger...